I am finally in the final stage of development. In these last few weeks, I will be texturing, lighting, rendering, compositing, and adding special effects, as well as color grading and finalizing my credits. I am really excited about this film, but this quarter got off to a slow start for me thanks to an unexpected illness. Luckily, I'm back on my feet now and ready to hit the road running.
During the short break between quarters, I worked with Michelle and Nora (Art Directors) to redefine a look for the short to get a better sense of what I want it to look like. I am shying away from the completely photo-realistic look and trying to go with a stop-motion inspired stylization with believable textures. I will be posting the new mood boards soon. I also have to make adjustments to my backgrounds. (I apologize now if anyone has seen the current backgrounds, they are only placeholders.)
One of the changes I am making is adjusting models to fit the elongated and eschewed look. We have also pulled references from films in the 1950's to get an idea of the colors, look, and styles they used.
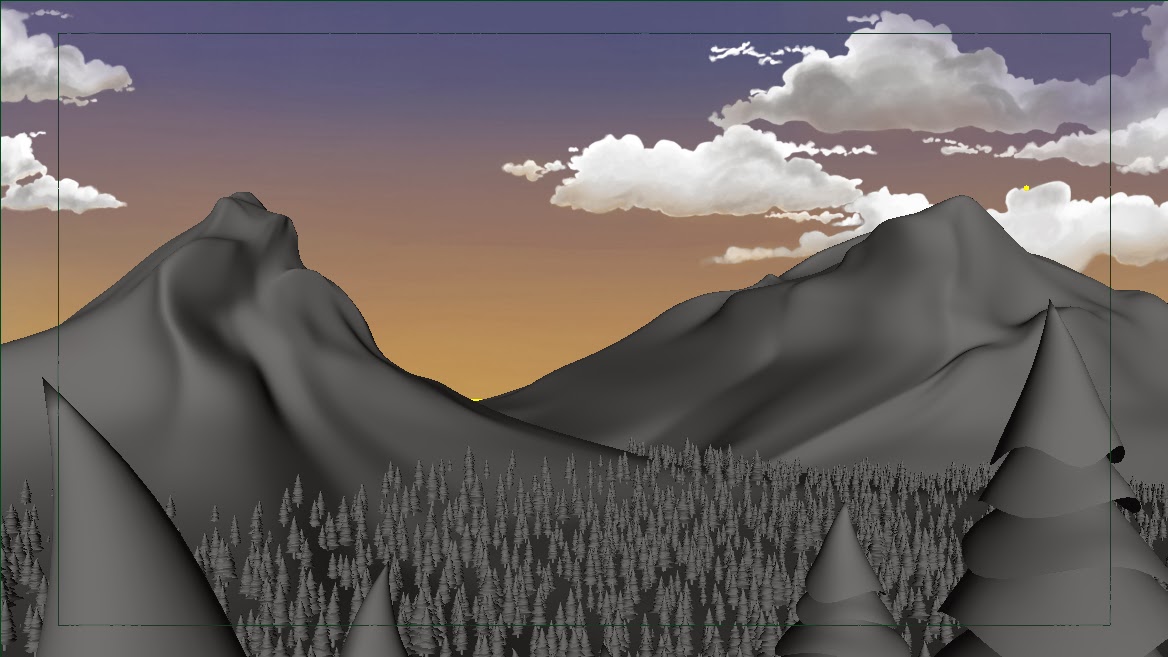
I wanted to share one of the images I've been working on. While this is only a test with preliminary test lighting and a simple checkered environment, I can see the direction I am going for in this one and I really love the look of it. I will post more soon!
Showing posts with label maya. Show all posts
Sunday, March 30, 2014
Monday, February 10, 2014
Style Frames and MoodBoard
For the past few weeks, I have been busy working on organizing my team and getting my texturing and animation under way. One part of this was to prepare an updated mood board that shows inspiration and reference material. I also made 3 Style Frames, which are sort of like making a goal for where you want the look of the film to go. So without further ado, my Style Frames and Mood Board.
![]() |
| Some inspirations come from Pixar's Blue Umbrella, Laika's Paranorman, and Sony's Monster House. |
![]() |
| Opening scene where the sun sets and "Ray" is born. |
![]() |
| Ray ends up inside this office before getting frustrated at the desk lamp. |
![]() |
| As Ray gets exhausted, he gives it one last chance. |
Labels:
3D,
color,
color treatment,
concept,
forest,
lighting,
maya,
style,
style frame,
style guide
Monday, November 18, 2013
Forest update
Several quarters ago I built a MEL script (Maya scripting language) that I called "Populate". The point of this code was to allow you to select as many geometry files as you wanted to and then populate an object (plane with terrain) with as many of them as you wanted and without any interpenetration of the objects while attaching them to the surface and allowing you to randomize the rotation and scale (uniformly, diameter and height, or all 3 axes) allowing you to determine the range for each of these. It was not completely finished, and suffered from one or two bugs. However, I managed to figure out the solution to these issues even though I didn't have the time to implement the changes.
The reason I built this script was so I could use it in my final project, to build a forest while keeping the width and depth of the trees the same while randomizing the scales and placement of the trees. It worked pretty well, but in the end, one of the bugs I was running into was taking too much time to fix, so I explored some other tools in Maya, and found the Paint Geometry tool. This is a really cool tool that does something very similar to my script, while also allowing you to go back and make changes to your objects live, adjusting the scales or removing objects on the fly. While I still want to complete my script because it has a few advantages over this tool (mainly the ability to decide how many objects you want, avoid colliding geometry, and scaling x and z together), but for now I decided to try this tool out build my forest.
So far it seems to work well. After looking at some pine forest reference images, I have decided to make my forest rather dense, which means a lot of geometry. As such, even though each tree is a low polygon count, the scene bogs down my system drastically whenever the forest is visible. I am planning to look into using a renderman rib archive to speed this up, if possible, but only if the computers can handle exporting the objects into a new file and then into a rib archive.
I also now have to go through this scene during the break and decide if I need to remove any interpenetrating trees or if it would be easier to fix my script and redo this. I am pleased with the look right now, but if anyone knows a better way of creating a forest with my own geometry, I am open to suggestions.
Tuesday, October 15, 2013
Production 1, Mid-terms
Right now we are in the middle of Mid-Terms for the first half of production. We have already finished 2 milestones, are are finishing up the 3rd, with 5 total milestones this quarter. So far, I have completely reworked the timing, several key concepts, and the style. I am very pleased with the direction this is going, and the real production begins today.
From here on out, I need to have my character rigged, models built, environments developed, and animation blocked in, for starters. I have already started with building some of the assets, such as the various environments. As for the style, I am going for an elongated and slightly skewed look, which I plan to place in the 1950's through the design of the objects. I want to make this look something akin to stylized realism, using realistic lighting and rendering and textures on a highly stylized world.
So here are the new developments for the film, including style guide and a 3D Animatic.
Labels:
3D,
animatic,
color,
color treatment,
concept,
maya,
style,
style guide
Thursday, September 26, 2013
New and improved
It's new! It's improved! It's 3D!!
It's my all new handy-dandy little-giant new and improved 3D Animatic! (Yes, I said new twice, it's that new.) Well it isn't done yet, but I am working on it now. The original animatic is a great starting point for me, but I need to have a starting point for 3D, plus I've been getting a lot of good feedback from people, so I have ideas on what I can do to improve the story and flow.
But what is an animatic you ask? In short, it's a rough idea of what the film will look like... but not actually look like. More like an idea of the flow, timing, camera direction, staging, and so forth, as opposed to the look and style. Still don't get it? It's really just behind-the-scenes stuff, so don't worry about it. Just know that this is a vital step, and the sooner I finish it the better.
My goal is to complete the all new animatic by Tuesday, but only with blocked in shapes. That means it will only have a few basic shapes and colors, and most of it will not look anything like what it is supposed to look like. It is just enough to get an idea, so I can get started with modeling the actual 3D assets.
Speaking of which, I have to make a whole new list of assets as well, but that will be for the next stage. I need to make sure I have all the props, sets, background elements, characters, and even effects accounted for so I know where to go next. I will also work on style frames so I will actually know what it has to look like. But that is another goal for another week. This is all really early production work right now, converting the original concept into 3D and making adjustments as needed. Important, but not that impressive looking. Yet.
Well I have a lot of work to do in order to get this ready. Back to the grind...
Tuesday, September 17, 2013
Welcome
Welcome all to the official blog for the short student film "Last Light". This short animation is the senior project of SCAD student David Hixon. The blog will chronicle the development of the 2013/2014 film, and show the various stages of the production.
Last Light is a film about the last ray of sunlight trying to find a place to stay for the night, where it can be of use to someone. This film will be fully 3D, using a variety of software packages, including Autodesk Maya, SideFX Houdini, Foundry Nuke, Adobe CC suite, and more.
You can check out the pages linked to at the top of the blog to look at examples of the film's pre-production, production, and post-production stages when they are available. You can also access my main blog, Pixel of the Day, from there as well.
Thank you for your interest, and remember to check back often for more updates!
Labels:
adobe,
houdini,
lighting,
maya,
nuke,
pixel of the day,
SCAD,
short,
short animation,
short film,
welcome
Subscribe to:
Comments (Atom)


